Tutorials
5 Great DIY French Manicure Tips


Materials For DIY French Manicure Tips
Let us first list the materials you will need:
- Non-fibrous cotton pad
- Nail polish remover
- Hand moisturizer (optional)
- Nail file
- Buffer (optional)
- Cuticle pusher
- Clear, base-coat polish
- Sheer, neutral-color polish
- Opaque, white polish
- Clear, top-coat polish
Step 1 - Start any manicure with clean nails
We cannot emphasize enough how important it is to always start with clean nails. Clean your nails thoroughly with a non-fibrous cotton pad to remove all traces of previous old polish
Step 2 - Moisturize and Nourish your hands
Prep your hands will by massaging your fingers and arms. To apply the moisturizer to the nail bed and lather it generously on your arms. Start the massage from your palm and slowly move up and down your arms. Repeat the process a couple of times and move to the other arm.
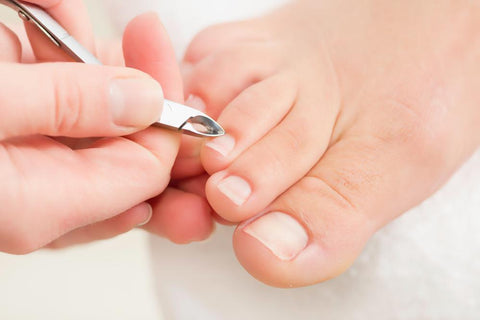
Step 3 - Trim off cuticles
Wipe of the moisturizer. Push soften cuticles softly with a cuticle pusher. Cut and trim your nails to the desired length and shape. File in a single direction and buff for a shiny finish. Next, apply a clear layer of base coat.
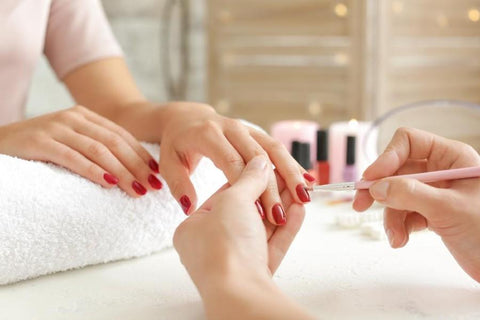
Step 4 - Polish Your Nails
Sweep the nail polish brush against the bottle to ensure that you only have a thin layer of color on the brush. Brush down the color in 3 single strokes on your nail bed. Start from the middle first, followed by the sides. Do not apply a single thick coat as this will cause streakiness on your nails. Allow drying before you apply a second coat.
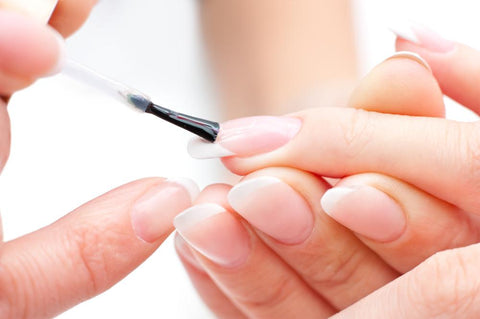
Next, apply the tip color of your choice. The tip should only be applied to cover the white part of your nails.
Step 5 - Top it off
A fast-dry topcoat will protect your polish, making it last and look shiny for a longer period of time. Always allow your nails to dry completely before you do anything else. You do not want to waste your efforts.
Follow these 5 steps and you are on your way to a beautiful DIY french manicure at home. Of course, if you have time, make a trip down to the salon. You will enjoy a pampering massage, and an abundance of colors and nail art accessories for you to choose from.