Tutorials
Nail Basics
Hello Move Manicure fans, we love to share a Step-by-Step DIY Guide for a great nail basics manicure and pedicure care at home in 2020.


Sometimes you just want to spend some Me-Time pampering yourself with some DIY manicure and pedicure. Let our experienced nail technicians share with you some of the tips and tricks for the perfect nail spa experience.
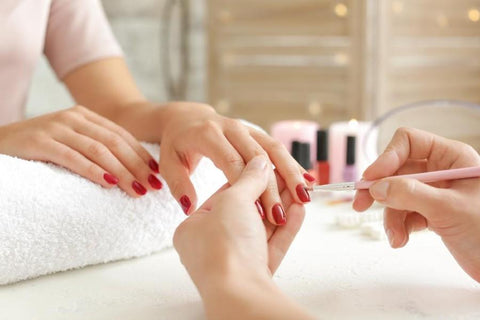
What Is A Manicure?
Manicure is a process where you cut, file and shape your nails. You will also use this time to trim and cut excess cuticles, give your tired hands a massage. Next, you will apply a base coat, choose a polish color of your choice, and top it off with a topcoat to protect the color.
Steps For A Great Manicure
- First, remove any previous nail polish colors you have on your nails. Let your nails rest and breathe by applying a natural nail remover.
- Next, you may soak your hands in a bowl of lukewarm water to soften the cuticles. Dry your hands and use a nail brush to clean any debris underneath your nails and nail beds. Pamper yourself with either a sugar scrub or sea-salt scrub. You may also add the essential oil of your choice to add on to the holistic spa experience.
- Now, push back your cuticles gently with a cuticle pusher. We do not recommend for you to cut the cuticles yourself at home because non-sterilized tools may cause infections from bacteria.
- Apply a coat of cuticle oil to each cuticle and massage into in circular motion into the skin for easy absorption. It is a good habit to include this as part of your daily beauty routine to help you protect and cuticles, and prevent any dead skin growth.
- Trim your nails to your desired length and shape.
- Now file your nails in a single direction. Be mindful not to file back and forth as this can cause your nails to weaken and break. File from one end to the center, and another end back to the centre again. Repeat this process until you get your desired shape and length.
- Apply a layer of moisturizer and massage your hands, fingers, and forearms. Get the blood circulation going and you may also use this time to cleanse and detox your body.
- The final step is to prep your nails for painting. Remove any cream or oil residue as this helps the nail polish to adhere easily to your nails. Do not skip this step as residues will prevent your nail polish from chipping easily. Wipe each nail carefully with an alcohol swap or use a cotton swab, dipped in a little witch hazel.
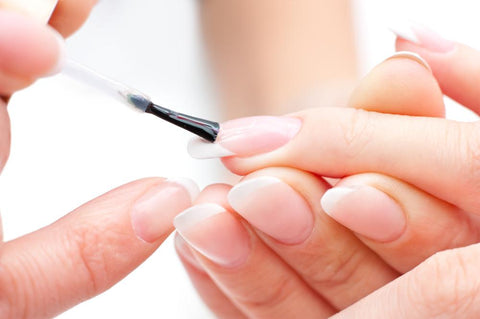
- Basecoat: Apply a thin layer of Nailise Base Coat Polish as your foundation.
- Select your favorite Nailise Nail Polish and start painting your nails. Pick up a little color at a time, start to layer your brush from the center of your nail and paint down each side to your nail tips. Let it dry under the LED lamp for 1 minute and apply a second coat.
- Lastly, apply a layer of your Nailise Top Coat Polish and allow it to dry under the LED lamp for 2 minutes to keep your nail polish shiny and durable.

|
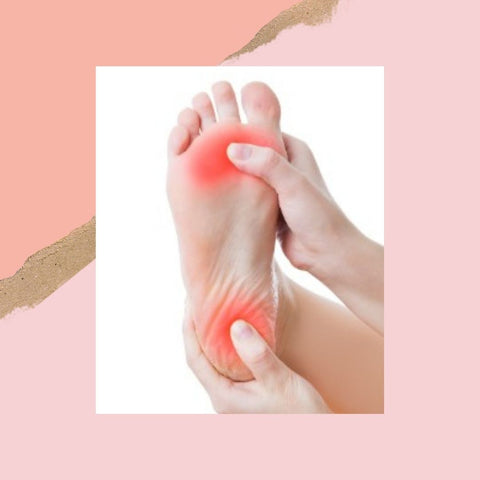
Steps For A Beautiful Pedicure
- Prepare a tub that you can fit your feet comfortably in. Fill the tub with lukewarm water, add some bath soaks or bath-bombs. The foot soak is a great way to relax your tired feet as the warm water will help in blood circulation.
- Use a bath sponge or a fine-bristled brush to scrub your calves and toes. You may also want to use a pumice stone to exfoliate the dead skin on your feet. Use gentle circular motions to scrub off any dead skin as you do not want to injure your skin. Give your feet and calves a thorough scrub as these are areas that are often neglected during your daily bath regime.
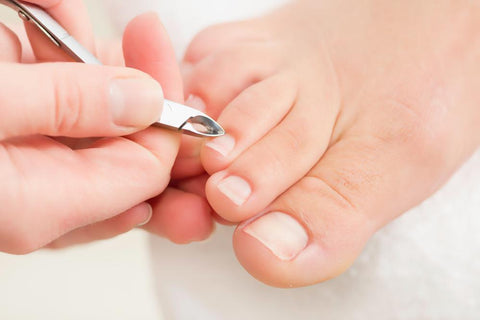
- Now, push back the soften cuticles, the way you did with a manicure. As mentioned, it is advisable to just push back your cuticles and clean off any away gently with a cloth. It is best to leave your cuticles alone instead of cutting it yourself as you do not want to introduce bacteria, which may end up in an infection.
- Next, apply a layer of cuticle oil to keep the skin around the toes moisturized.
- Trim your toenails to your desired shape and length. You do not want to trim the toenails too short as this may result in painful ingrown nails.
- Next, file your toenails from one end to the center, and file the other end to the center.
- Apply a layer of moisturizer to keep your clean feet soft and energized. Use an alcohol swab to clean off any moisturizer or oil residue for nail application.
- Use a toe separator to keep your toes separated. This helps to make your painting job much more convenient and easier.
- Apply a thin layer of your choice of color and finish it off with Nailise Top Coat Polish.
- Let your nails dry under the LED lamp for 2 minutes and wipe off any sticky residue on the topcoat and your pedicure is completed.
7 Fresh Tips for The Perfect Manicure and Pedicure
- Never skip the basecoat and topcoat if you want to have the smooth salon finish quality even when you are doing a DIY mani-pedi at home.
- Always clean and sterilize your tools with warm water after using and wipe dry before keeping to avoid bacteria growth, which may lead to fungal infection.
- We can emphasize how important it is to moisturize your hands and legs. Moisturizing your skin regularly will help to reduce dead skin formation and keep your skin looking supple and beautiful.
- Clean your nail beds off any residue and dust before applying any nail polish as this will prevent the nail polish from cracking very quickly.
- Never shake your nail polish bottle. Shaking introduce bubbles into the formula. Roll to smooth out the color concentration for a smooth nail polish application.
- Apply your nail polish in a cool and dry environment. Dry your nail polish under the UV or LED light for as least 30 seconds to 1 minute after each application so the nail polish can dry in-between layer to prevent smudging.
- Use Nailise organic and vegan nail polish to protect your nails. Throw away any nail polish that you have kept for more than 1 year.
We have listed all the steps and procedures for you to perform a perfect DIY manicure and pedicure at home. Try out Nailise Nail Collection for clean and pure nails.